Energy Balls
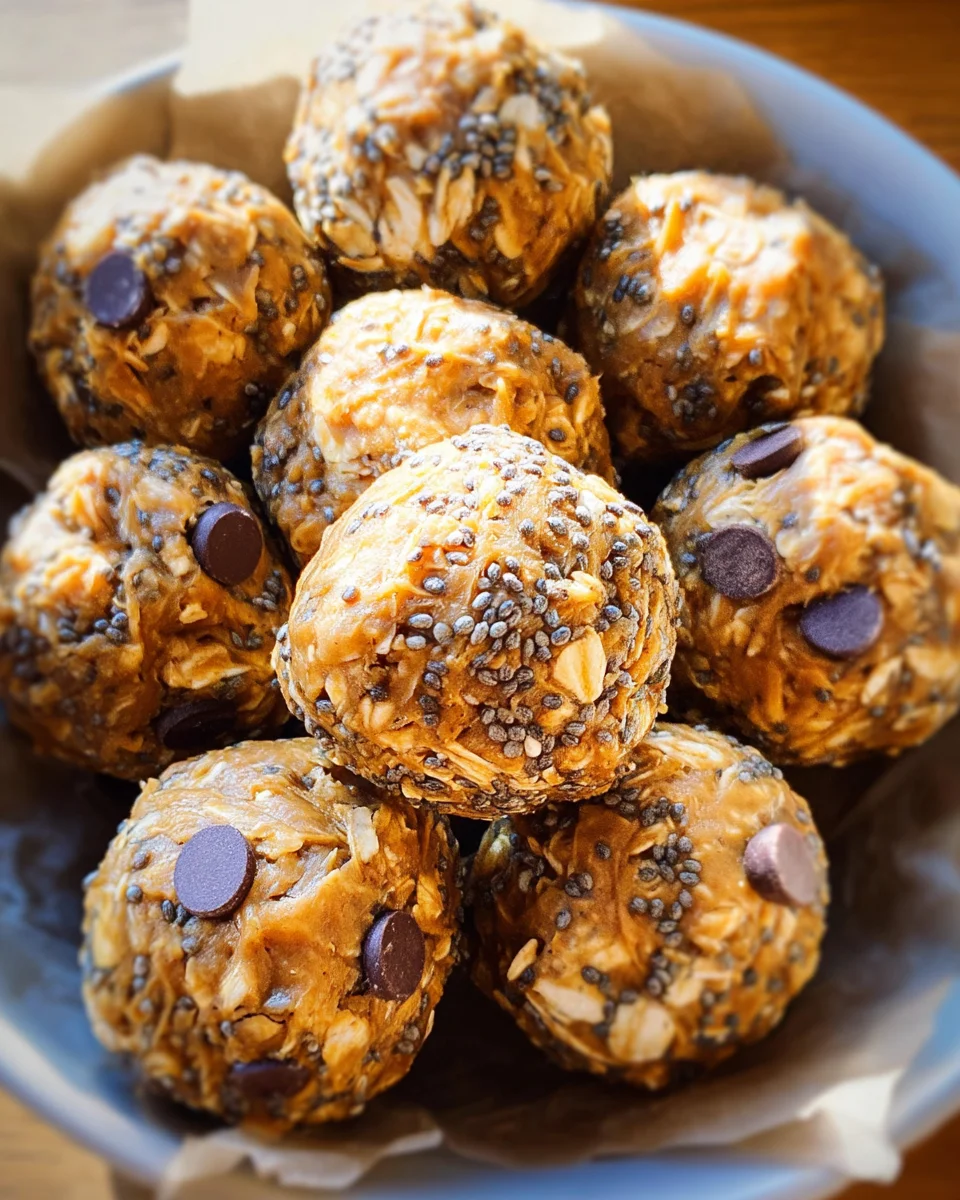
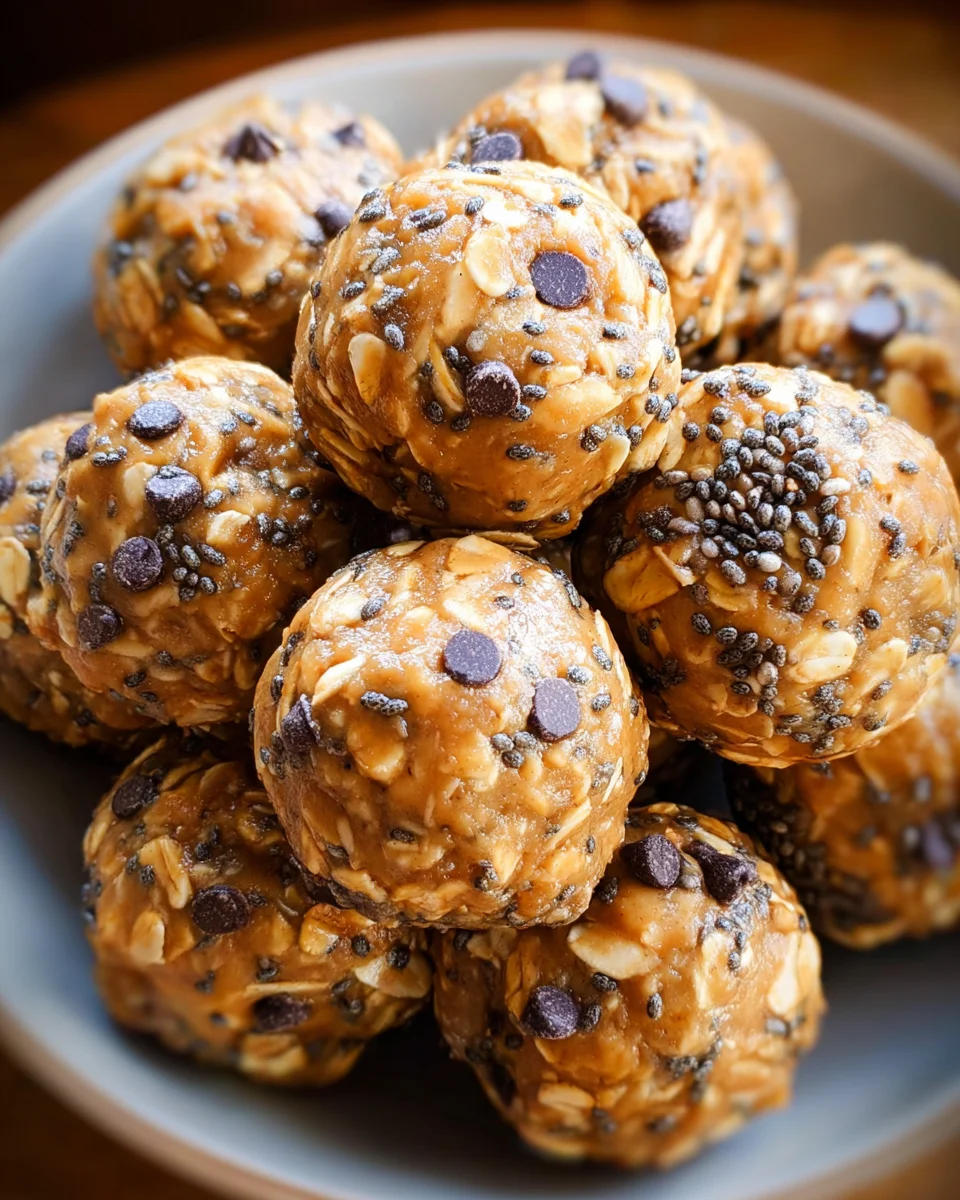
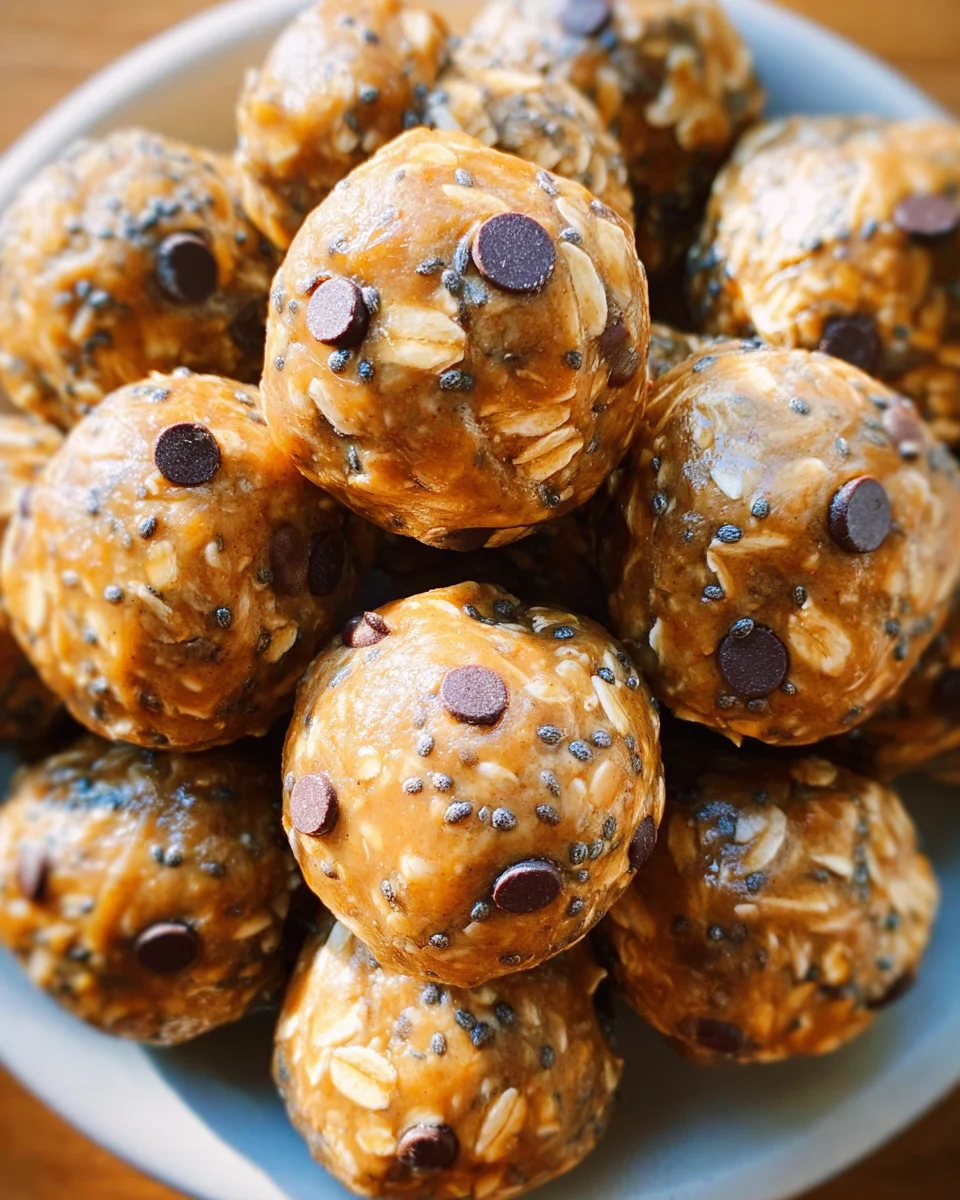
Try this easy recipe for Energy Balls any time you are craving a no-bake healthy snack! These delightful bites are perfect for busy days, offering a quick energy boost when you need it most. With their chewy texture and rich flavor, these energy balls are not only nutritious but also incredibly versatile. Whether you’re on the go, packing lunches, or simply looking for a tasty treat, these energy balls fit the bill.
Why You’ll Love This Recipe
- Quick to Make: With just five minutes of prep time, you can whip up a batch of these energy balls in no time.
- Nutritious Ingredients: Packed with wholesome oats, peanut butter, and chia seeds, they’re a great source of protein and fiber.
- Customizable: Feel free to add your favorite mix-ins like chocolate chips or dried fruit to suit your taste.
- No Baking Required: These energy balls require no oven time; just mix and enjoy!
- Perfect for Any Occasion: Whether it’s an afternoon snack or a post-workout boost, these energy balls are suitable for all.
Tools and Preparation
Before diving into the recipe, gather your kitchen essentials. Having the right tools can make preparation easier and more enjoyable.
Essential Tools and Equipment
Importance of Each Tool
- Medium bowl: This is essential for mixing all the ingredients evenly without spills.
- Mixing spoon: A sturdy spoon helps combine ingredients thoroughly for the best texture.
- Measuring cups: Accurate measurements ensure that your energy balls turn out perfectly every time.
Ingredients
For the Energy Balls
- 1 cup rolled oats
- 1/2 cup peanut butter (or allergy-friendly sub)
- 1/4 cup pure maple syrup (or honey or agave)
- 1 tbsp chia seeds
- 1/8 tsp salt
- optional handful mini chocolate chips or raisins
How to Make Energy Balls
Step 1: Prep Your Nut Butter
If your nut butter is not already soft, gently warm it until it’s easy to stir. This step ensures that it blends well with the other ingredients.
Step 2: Mix Dry Ingredients
In a medium bowl, stir together the rolled oats, chia seeds, and salt until well combined.
Step 3: Combine Wet Ingredients
Add the warmed peanut butter and pure maple syrup to the dry mixture. Stir until everything is evenly mixed.
Step 4: Form Energy Balls
Roll the mixture into small balls using your hands or press it into cookie shapes for variety.
Step 5: Store Your Energy Balls
Store leftovers in an airtight container at room temperature for up to a week. For longer storage, keep them in the refrigerator for three weeks or freeze them for up to four months.
Enjoy your homemade Energy Balls as a wholesome snack anytime!
How to Serve Energy Balls
Energy balls are a versatile snack that can be enjoyed in various ways. Whether you’re looking for a quick pick-me-up or a delightful treat, these bites of goodness can fit into your routine seamlessly.
On-the-Go Snack
- Pack a few energy balls in a small container for an easy snack while commuting or during busy days.
Post-Workout Fuel
- Enjoy energy balls after your workout to replenish your energy and support muscle recovery without the hassle of cooking.
Lunchbox Treat
- Toss some energy balls into your kids’ lunchboxes for a healthy sweet treat that they’ll love, providing them with lasting energy throughout the school day.
Afternoon Pick-Me-Up
- Keep a stash of energy balls at your desk for those afternoon slumps when you need a quick boost of energy and focus.
Party Platter Addition
- Arrange energy balls on a platter with other snacks for parties or gatherings, offering guests a healthy option that’s both tasty and appealing.
Dessert Alternative
- Serve energy balls as a guilt-free dessert after dinner; they satisfy sweet cravings without the excess sugar found in traditional desserts.
How to Perfect Energy Balls
Creating the perfect energy balls is simple with just a few tips. Follow these guidelines to ensure they turn out delicious every time.
-
Choose Quality Ingredients: Use high-quality nut butter and sweeteners such as pure maple syrup for the best flavor and nutrition.
-
Adjust Texture: If the mixture is too dry, add more nut butter or sweetener. If it’s too wet, incorporate more oats or chia seeds.
-
Experiment with Mix-ins: Customize your energy balls by adding nuts, seeds, or dried fruits to enhance flavor and nutritional value.
-
Chill Before Serving: Refrigerate the energy balls for about 30 minutes before enjoying them to help them firm up and enhance their texture.
-
Store Properly: Keep leftover energy balls in an airtight container to maintain freshness. They can last up to a week at room temperature or longer in the fridge.
Best Side Dishes for Energy Balls
Energy balls pair well with several side dishes that complement their flavors. Here are some great ideas:
-
Fresh Fruit: Pair with apple slices or banana halves for added sweetness and nutrients.
-
Yogurt Cup: Serve alongside Greek yogurt topped with honey or fruit for extra protein and creaminess.
-
Veggie Sticks: Enjoy with crunchy carrot or celery sticks for a refreshing contrast.
-
Trail Mix: Combine with trail mix for an energizing snack mix full of different textures and flavors.
-
Cheese Cubes: Add cheese cubes as a savory counterpart that provides protein and calcium.
-
Rice Cakes: Serve on top of rice cakes spread with almond butter for an extra filling snack option.
-
Smoothie Bowl: Include as toppings on smoothie bowls for added texture and nutrition.
-
Nut Butter Dip: Create a mini platter with assorted fruits and nut butter dip for dipping alongside your energy balls.
Common Mistakes to Avoid
When making energy balls, it’s easy to overlook a few important details. Here are some common mistakes and how to avoid them.
- Using dry ingredients only: Ensure you balance your dry and wet ingredients for the right texture.
- Skipping refrigeration: Not chilling your energy balls can make them too soft. Always refrigerate before serving.
- Ignoring measurements: Be precise with your measurements; too much of one ingredient can ruin the flavor.
- Not customizing: Sticking strictly to the recipe limits your options. Experiment with different add-ins like nuts or seeds.
- Forgetting about allergies: If making for others, always check for allergies related to key ingredients like peanut butter.
Storage & Reheating Instructions
Refrigerator Storage
- Store energy balls in an airtight container.
- They will last up to one week in the fridge.
Freezing Energy Balls
- For long-term storage, freeze energy balls in a freezer-safe container.
- They can last up to four months in the freezer.
Reheating Energy Balls
- Oven: Preheat to 350°F (175°C), warm for 5-10 minutes until slightly soft.
- Microwave: Heat on low power for 10-15 seconds for a quick snack.
- Stovetop: Warm gently in a non-stick pan for a minute or two.
Frequently Asked Questions
Here are some frequently asked questions about energy balls that might help clarify any doubts.
What are Energy Balls?
Energy balls are no-bake snacks made from healthy ingredients that provide a quick boost of energy.
Can I customize my Energy Balls?
Absolutely! You can add various ingredients like nuts, dried fruits, or protein powder based on your preferences.
Are Energy Balls suitable for kids?
Yes! Energy balls are a great snack for kids, providing essential nutrients and energy without added sugars.
How long do homemade Energy Balls last?
Homemade energy balls can stay fresh in the refrigerator for up to one week and can be frozen for four months.
What’s the best way to serve Energy Balls?
Energy balls can be enjoyed chilled straight from the fridge or warmed slightly for added comfort.
Final Thoughts
This easy recipe for energy balls is not only delicious but also incredibly versatile. With endless customization options, you can create a snack that suits your taste perfectly. Give it a try and enjoy these delightful bites whenever you need an energy boost!

Energy Balls
- Total Time: 5 minutes
- Yield: Approximately 12 servings 1x
Description
Energy Balls are the perfect no-bake snack for anyone seeking a quick, nutritious energy boost. With their chewy texture and delightful flavor, these protein-packed bites are ideal for busy days, post-workout fuel, or a healthy treat that kids will love. Made with wholesome ingredients like oats and peanut butter, you can easily customize them with your favorite mix-ins such as chocolate chips or dried fruit. In just five minutes, you can prepare a batch of these delicious energy balls that will keep you satisfied and energized throughout the day.
Ingredients
- 1 cup rolled oats
- 1/2 cup peanut butter (or allergy-friendly substitute)
- 1/4 cup pure maple syrup (or honey/agave)
- 1 tbsp chia seeds
- 1/8 tsp salt
- Optional: mini chocolate chips or raisins
Instructions
- If necessary, warm the peanut butter until soft.
- In a medium bowl, combine rolled oats, chia seeds, and salt.
- Stir in the warmed peanut butter and maple syrup until well mixed.
- Roll the mixture into small balls or press into cookie shapes.
- Store in an airtight container; consume within one week at room temperature or refrigerate for up to three weeks.
- Prep Time: 5 minutes
- Cook Time: 0 minutes
- Category: Dessert
- Method: No-Bake
- Cuisine: American
Nutrition
- Serving Size: 1 energy ball (30g)
- Calories: 120
- Sugar: 6g
- Sodium: 50mg
- Fat: 7g
- Saturated Fat: 1g
- Unsaturated Fat: 6g
- Trans Fat: 0g
- Carbohydrates: 10g
- Fiber: 2g
- Protein: 4g
- Cholesterol: 0mg

